


Parade Pole Assembly Instructions

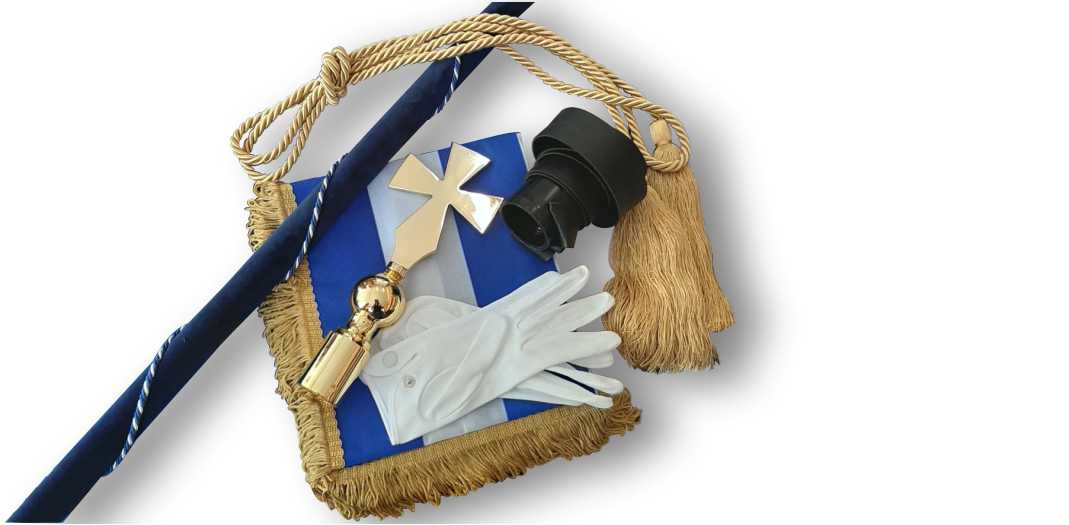
Contents:
- Velvet
- Simple Nails
- Golden Pins
- Black Plastic Strip
- Cord
- Hook
 Step 1
Place the pole on the velvet fabric, leaving 20 cm (7.9 inches) at the bottom side and 5cm (2 inches) at the top.
The pole should be 2m (6.56 inches) long and 35mm (1.4 inches) wide.
 Step 2
Using the simple nails, nail the length of the one side to the pole.
The distance between the nails should be about 10cm (4 inches).
 Step 3
Fold the edge of the velvet inwards (to protect the fabric from fraying).
Wrap the pole so that the first line of nails is covered.
Secure with the rest of the simple nails (approx. every 20cm or 7.9 inches).
 Step 4
Nail the golden pins on the joint, spacing them every 8 cm (3.15 inches).
Make sure there are 5-6 cm (2 inches) from the top and bottom end.
 Step 5
Repeat steps 2,3,4 for the black strip at the bottom of the pole.
Place the strip so it covers one cm of the velvet.
Secure with pins.
 Step 6
At the top of the pole turn the cord 4 times and secure with a pin.
Make your way towards the bottom, wrapping the cord by skipping 2 pins every time.
At the bottom of the pole wrap again 4 times, so the cord covers the overlap of the plastic to the velvet..
Secure with 1-2 pins. Cut the rest.
 Step 7
Place the finial at the top and secure with the hook.
The flag can be hung from the hook.


